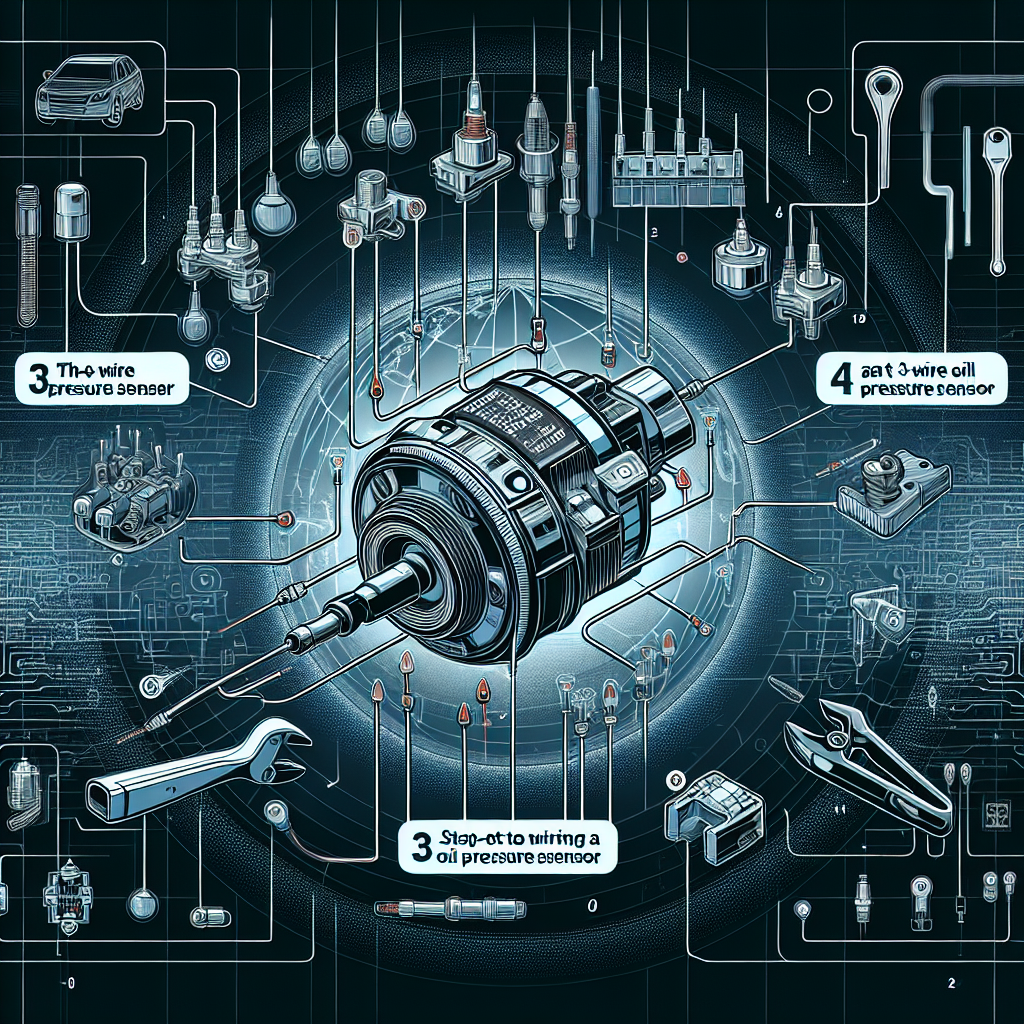
Step-by-Step Guide to Wiring a 3-Wire Oil Pressure Sensor for Optimal Performance in 2024
Getting the most out of your vehicle’s oil pressure sensor is crucial for performance and longevity. In 2024, the electrical efficiency standards have improved, making the process of wiring a 3-wire oil pressure sensor easier and more reliable. This detailed guide, drawn from years of hands-on experience, will walk you through each step to ensure your sensor operates at peak performance.
Table of Contents
- Introduction to Oil Pressure Sensors
- Tools and Materials Needed
- Understanding the 3-Wire Oil Pressure Sensor
- Step-by-Step Wiring Instructions
- Step 1: Preparing the Vehicle
- Step 2: Identifying the Wires
- Step 3: Connecting the Power Wire
- Step 4: Grounding the Sensor
- Step 5: Signal Wire Connection
- Testing Your Connection
- Troubleshooting Common Issues
- Maintenance Tips for Longevity
- Conclusion
- Frequently Asked Questions
Introduction to Oil Pressure Sensors
Oil pressure sensors play a pivotal role in monitoring the pressure of oil in your vehicle’s engine. They help in preventing engine damage by signaling pressure drops or spikes. With technological advancements in 2024, the 3-wire oil pressure sensors have become more precise, providing better performance and reliability.
Tools and Materials Needed
Before starting, gather all the necessary tools and materials to make the process smooth and efficient:
- Multimeter
- Wire Strippers and Crimping Tool
- Electrical Tape and Heat Shrink Tubing
- Screwdrivers and Wrenches
- 3-Wire Oil Pressure Sensor
- Wiring Diagram for Your Specific Vehicle Model
- Soldering Iron and Solder
Having these tools and materials ready will save time and ensure a hassle-free installation.
Understanding the 3-Wire Oil Pressure Sensor
A 3-wire oil pressure sensor has distinct wiring configuration:
- Power Wire (usually red)
- Ground Wire (usually black)
- Signal Wire (usually green or sometimes yellow)
Each wire plays a critical role in ensuring accurate readings and reliable performance.
Step-by-Step Wiring Instructions
Step 1: Preparing the Vehicle
Safety first! Begin by disconnecting the battery to prevent any electrical mishaps. Ensure the engine is cool to avoid burns or injuries. Gather all your tools within reach.
Step 2: Identifying the Wires
Use the wiring diagram for your vehicle model to identify the wires. Match the sensor wires with the vehicle’s harness. The power wire supplies voltage, the ground wire completes the circuit, and the signal wire sends the oil pressure reading to the engine control unit (ECU).
Step 3: Connecting the Power Wire
- Locate the Power Source: Find an appropriate power source in your vehicle’s wiring harness.
- Strip the Wire: Use wire strippers to reveal clean wire.
- Attach the Power Wire: Connect the sensor’s power wire securely using crimp connectors or by soldering.
- Secure the Connection: Use electrical tape or heat shrink tubing to protect the connection from moisture and potential shorts.
Step 4: Grounding the Sensor
- Select a Grounding Point: Choose a metal part of the vehicle’s chassis or an existing ground wire.
- Prepare the Grounding Wire: Strip the wire end and attach a ring terminal if connecting to the chassis.
- Connect the Ground Wire: Ensure the ground wire is tightly secured to the grounding point.
- Check the Grounding: Use a multimeter to confirm the ground connection is solid.
Step 5: Signal Wire Connection
- Identify the Signal Path: Locate the route where the signal wire needs to connect to the ECU.
- Strip and Prepare the Wire: Remove insulation from the signal wire.
- Connect the Signal Wire: Join the signal wire from the sensor to the corresponding wire leading to the ECU.
- Secure the Connection: Protect the wire with electrical tape or heat shrink tubing to prevent interference.
Testing Your Connection
Once all wires are connected, it is crucial to test the setup:
- Reconnect the Battery: Carefully reattach the battery terminals.
- Turn On the Ignition: Without starting the engine, switch on the ignition.
- Check the Oil Pressure Reading: Observe the oil pressure gauge or the dashboard indicator. It should register a stable reading.
- Start the Engine: Confirm the pressure reading adjusts according to the engine’s activity.
Troubleshooting Common Issues
Encountering issues is common, but they are usually easy to resolve:
- No Reading on the Gauge: Ensure all connections are secure and properly matched.
- Fluctuating Readings: Check for any loose wires or poor grounding.
- Continuous Low Pressure Warning: Verify the sensor’s functionality with a multimeter, and replace if necessary.
Maintenance Tips for Longevity
To ensure the sensor’s longevity, follow these maintenance tips:
- Regularly Inspect Wires: Look for wear, fraying, or corrosion.
- Keep Connections Clean: Use contact cleaner to maintain good electrical contacts.
- Secure Wires: Routinely check that wires are tightly secured and not exposed to elements.
User Reviews on Amazon and Home Depot can provide insights on durable wiring tools and sensors recommended by experts and users alike.
Conclusion
Wiring a 3-wire oil pressure sensor may seem daunting, but by following these thorough and precise steps, you’ll ensure optimized performance for your vehicle. The 2024 advancements in sensor technology make them more reliable, and proper wiring will enhance their functionality, ensuring your engine runs smoothly and efficiently.
Frequently Asked Questions
Q1: What is the role of the oil pressure sensor?
A: The oil pressure sensor monitors the engine’s oil pressure, providing vital information to prevent engine damage and ensure optimal performance.
Q2: Why are 3-wire sensors preferred in modern vehicles?
A: 3-wire sensors offer better reliability and more accurate readings compared to older single-wire sensors, enhancing the vehicle’s operational efficiency.
Q3: How can I identify faulty wiring in my oil pressure sensor?
A: Use a multimeter to check for continuity, ensure tight connections, and look for any visual signs of wear or damage in the wiring.
Q4: Can a faulty oil pressure sensor affect engine performance?
A: Yes, a faulty sensor can provide inaccurate readings, leading to poor engine performance and potentially significant engine damage if not addressed timely.
By checking out resources from YourMechanic and AutoZone, you can find additional expert advice and troubleshooting techniques to keep your oil pressure sensor in top condition.