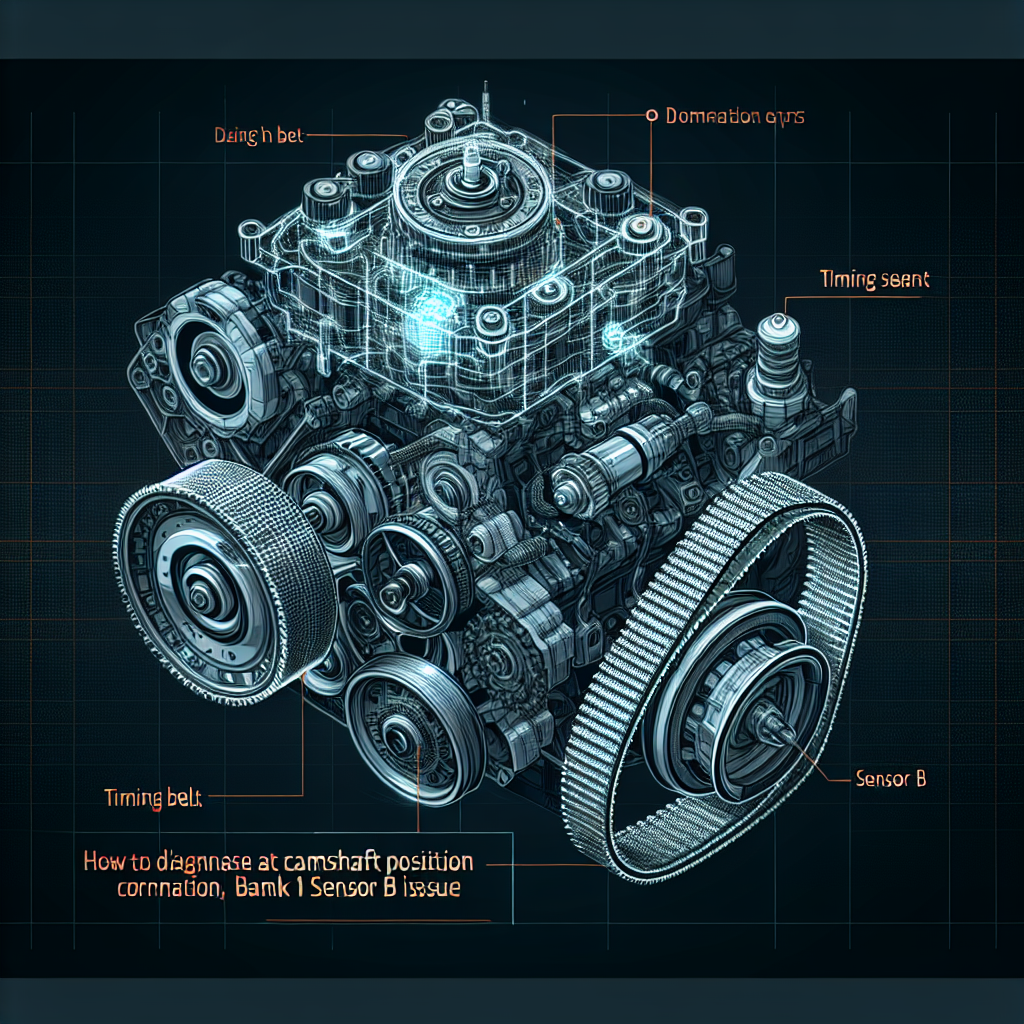
Working on cars in 2024 is a blend of hands-on work and tech-savvy troubleshooting. Among the most perplexing issues you might encounter is a Camshaft Position Correlation Bank 1 Sensor B issue. Let’s dive into diagnosing and fixing this problem based on my personal experience in the field.
Understanding the Issue
What is a Camshaft Position Sensor?
A Camshaft Position Sensor is pivotal to your engine’s performance. It provides essential data to the Engine Control Unit (ECU) about the camshaft’s position and speed. This data helps in optimizing ignition timing and fuel injection.
What is Bank 1 Sensor B?
In a V-engine configuration, Bank 1 refers to the side of the engine with cylinder 1. Sensor B is typically used to denote the exhaust camshaft sensor, while Sensor A usually stands for the intake camshaft sensor.
Symptoms of a Faulty Camshaft Position Correlation Bank 1 Sensor B
There are several signs that point towards a malfunctioning camshaft position sensor:
- Check Engine Light: The most obvious indication.
- Poor Engine Performance: Misfires, rough idling, or stalling.
- Starting Problems: The car may struggle to start.
- Increased Fuel Consumption: Inefficient fuel usage.
Diagnosing the Camshaft Position Correlation Issue
Step 1: Scan for Trouble Codes
First and foremost, use an OBD-II scanner to pull trouble codes from the ECU. If you get P0016, P0017, P0340, or similar codes, it’s a clear indicator that there’s a correlation issue between the camshaft and crankshaft.
Step 2: Physical Inspection
Inspect the wiring and connectors. Ensure there are no broken wires or corrosion. Logically, start with Bank 1 Sensor B. Look for frayed wires, bent pins, or any signs of wear.
Step 3: Use Diagnostic Tools
Using a multimeter, measure the voltage at the sensor and compare it to the specifications in your vehicle’s service manual. Also, employ an oscilloscope to check the sensor signal. Ideally, you should see a consistent waveform.
Fixing the Camshaft Position Correlation Bank 1 Sensor B Issue
Step 1: Replacing the Faulty Sensor
If the sensor is confirmed faulty, replacing it is the next step. Here’s a step-by-step guide:
- Disconnect the Negative Battery Terminal: Safety first!
- Locate the Sensor: Refer to your vehicle’s maintenance manual.
- Remove the Sensor: Unplug the electrical connector and unscrew the sensor.
- Install the New Sensor: Screw it in place and reconnect the electrical plug.
- Reconnect the Battery: Reconnect the negative terminal.
Step 2: Check Timing Chain or Belt
Sometimes, the issue stems not from the sensor but from the timing chain or belt. A loose or stretched chain/belt can cause incorrect timing, leading to a correlation issue. Check for any signs of wear or slack.
Step 3: Synchronize the Engine Timing
After replacing the sensor or addressing any timing chain issues, you may need to synchronize the engine timing. This can usually be done using a professional diagnostic tool.
Step 4: Clear Codes and Test Drive
Once the fix is complete, clear the ECU trouble codes using the OBD-II scanner and take the car for a test drive. Keep an eye out for any returning check engine lights or driveability issues.
Preventive Maintenance Tips
Regular Sensor Checks
Regularly inspect camshaft position sensors during routine maintenance checks. Note any signs of wear and tear.
Timely Oil Changes
Keep up with oil changes to ensure engine components run smoothly. Clean oil can help prevent sludge buildup that could affect sensor performance.
Check Timing Components
Frequently inspect the timing belt or chain, especially after clocking significant mileage. Replace them as per manufacturer recommendations.
Keep ECU Software Updated
ECU updates can enhance vehicle performance and fix known bugs, including sensor errors. Ensure your car’s ECU software is up-to-date.
Frequently Asked Questions
1. Can a faulty camshaft position sensor damage the engine?
Driving with a faulty camshaft position sensor can lead to poor engine performance, but it’s unlikely to cause direct engine damage. However, ignoring the issue can lead to further complications.
2. How long does it take to replace a camshaft position sensor?
Replacing a camshaft position sensor typically takes about 1-2 hours, depending on your vehicle model and accessibility of the sensor.
3. Can I drive with a P0016 code?
While you can drive with a P0016 code, it is not recommended as it indicates a serious timing issue that can impact engine performance and fuel efficiency.
4. How much does it cost to fix a camshaft position correlation issue?
The cost can vary significantly. Replacing a sensor might cost between $100-$250, but if timing components need replacement, it can run into several hundred dollars.
Additional Resources:
- For a more technical deep dive into Camshaft Position Sensors, check out AutoZone’s Guide.
- Comprehensive explanations on OBD-II codes can be found on OBD-Codes.com.
- For a visual guide, refer to some DIY videos on YouTube.
Understanding and fixing a Camshaft Position Correlation Bank 1 Sensor B issue is crucial to maintaining your engine’s performance. With careful diagnosis and proper tools, you can tackle this problem efficiently and effectively.