
What do you do if your android device displays “insufficient storage available“? It bothers me to display an error message saying “insufficient storage available” when trying to download an app with little space. I know that android limits the download of a new app only if we have less than 15MB space on our device.
What can we do in this situation? How do we fix this “insufficient storage available” error message?

This article will help you fix that error.
Method 1: Use a micro SD card to increase the internal storage of the android device
Have you got this question?
‘’It is difficult to allocate space for the internal storage from the memory card’’
Don’t worry. You can easily allocate space for the internal storage from the memory card through the LINK2SD app.
Today I’m going to show you how to easily allocate the free space on the memory card to the internal storage. There are generally three steps that people who have successfully maxed out internal storage using a memory card.
Firstly: Several tools are prepared to do this..
- Your android device must be rooted.
- Must have a micro SD card of class 4 or higher along with 2GB or more.
- Need a memory card reader.
- There should be a good software for SD card partitioning.
- You need to have the LINK2SD app installed on your android device.
Secondly: Partition the SD card
Finally: Now, it get the free space on the SD card
But now I think you are in trouble with so many problems.
- Why and how do I need to partition the SD card?
- How to increase the internal storage through an SD card?
Let’s see how we can solve these problems..
Problem 1: Partition SD card
Step 1 : Download and Install MiniTool Partition Wizard
- Download and Install MiniTool Partition Wizard on your computer.

- Remove the SD card from the android device and insert it into the SD card reader. Then connect SD card to your computer.

- The next step is to open the MiniTool Partition Wizard.

- Right-click on the SD card and select “Delete All Partitions”

This will delete all the data and information on your android device. So we advise you to backup your android device before following this step. - Again click on the SD card and select “Create Partition” in the left side panel.
- Further, select the partition as primary and enter information about the partition’s file system and size.

- Then select an unallocated space on your SD card and click on “Create” and create an Ext2 / 3/4 primary partition.

- Now you can see that there are two partitions(a FAT 32 and an Ext2 partition).As a final step, click on “Apply” to save all the changes you have made.

Step 2 : Increase internal storage through LINK2SD
After partitioning the SD card, you can use your second Ext2 / 3/4 partition to increase internal storage.In fact, this is the easiest part of the whole process. There are several steps to do this..
- Insert your SD card into your android device again.
- Download and install the Link2SD app for your android device.(Your device must be a rooted device to work with this app)

- Open the Link2SD app. When you open it you will be asked about the .ext partition that you created earlier.

- Select the Ex2 or Ex3 or Ex4 and then click ”OK”
- You will then be asked to reboot the device. So Reboot it.
- After reboot, open the Link2SD app again. Then click “Settings -> Check the Autolink” to move the apps automatically.

- If you already have a few apps, click on the “Create link“

- As a final step, monitor the current state of the internal memory.To do this, select “Storage Info“

DONE!!! you have successfully increased the internal storage of your android device..
Method 2 : Delete all unnecessary apps and clear all history and cache
Sometimes users uninstall apps that are no longer useful to them. But sometimes there will be occasions when you need those deleted apps again. Then you have to download them again.
On the other hand, some apps take up more space than they have asked for. In time, every app creates a cache file and fills up the storage on your device. Then all you have to do is clean the cache of the apps.
Therefore, here are some steps to increase the internal storage on your device:
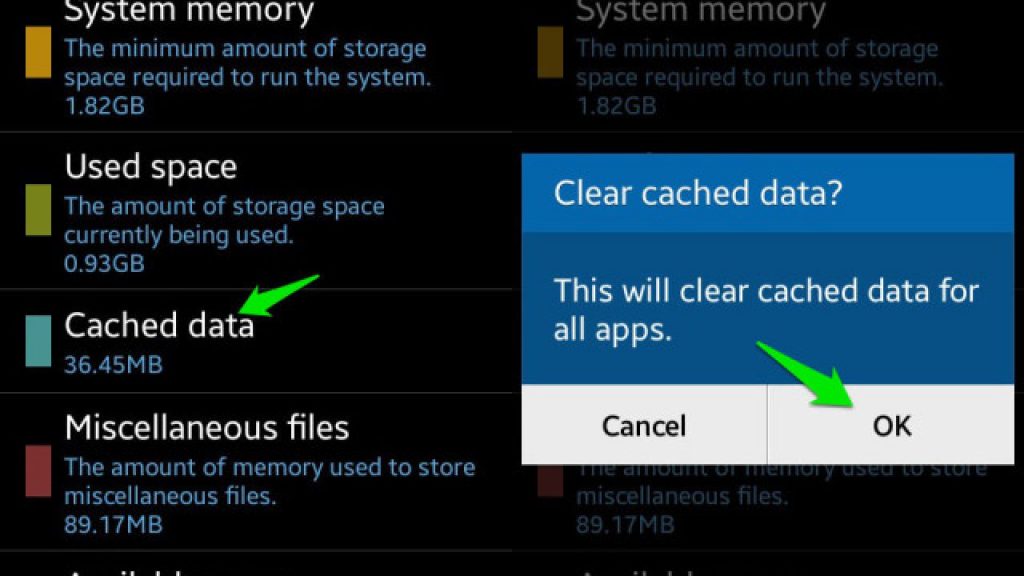
Step 1 : Go to “Settings -> Storage”

Step 2 : Next look at storage information like used space, available space, system memory, cached data and so on.

Step 3 : Click on the “Cached data“.After that, a message will pop up saying “This will clear cached data for all apps“.If so, click on “Ok“.
Method 3 : Use USB OTG Storage
What is this USB OTG?
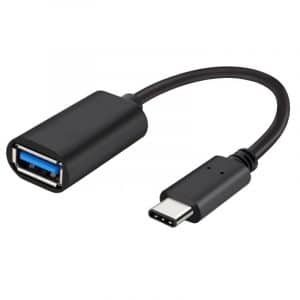
Technicians know what this is. This cable can be used to plug storage drivers to your phone device to increase storage. OTG cable allows USB devices, for example, tablets and smartphone phones to act as hosts. Other USB devices such as a USB flash drive, digital cameras, mice, or keyboards can connect to those hosts.
Here are some steps to link USB storage to USB OTG.
Step 1 : Connect the SD card reader or flash drive to the end of the adapter

Step 2 :: Connect the OTG cable to your device
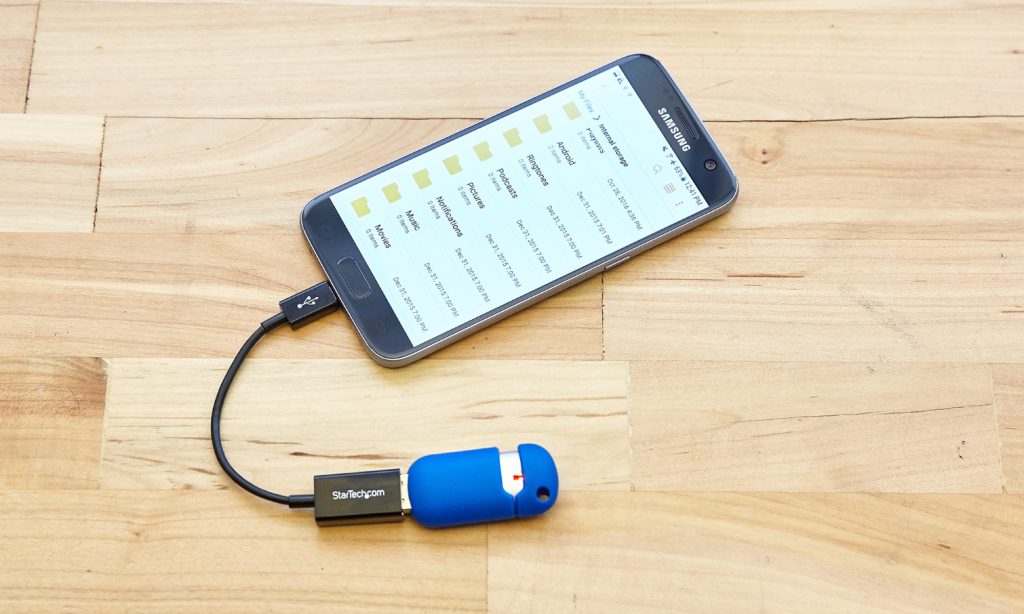
Step 3 : When this is plugged in, your device’s file manager will automatically appear(If not, check your notification bar)
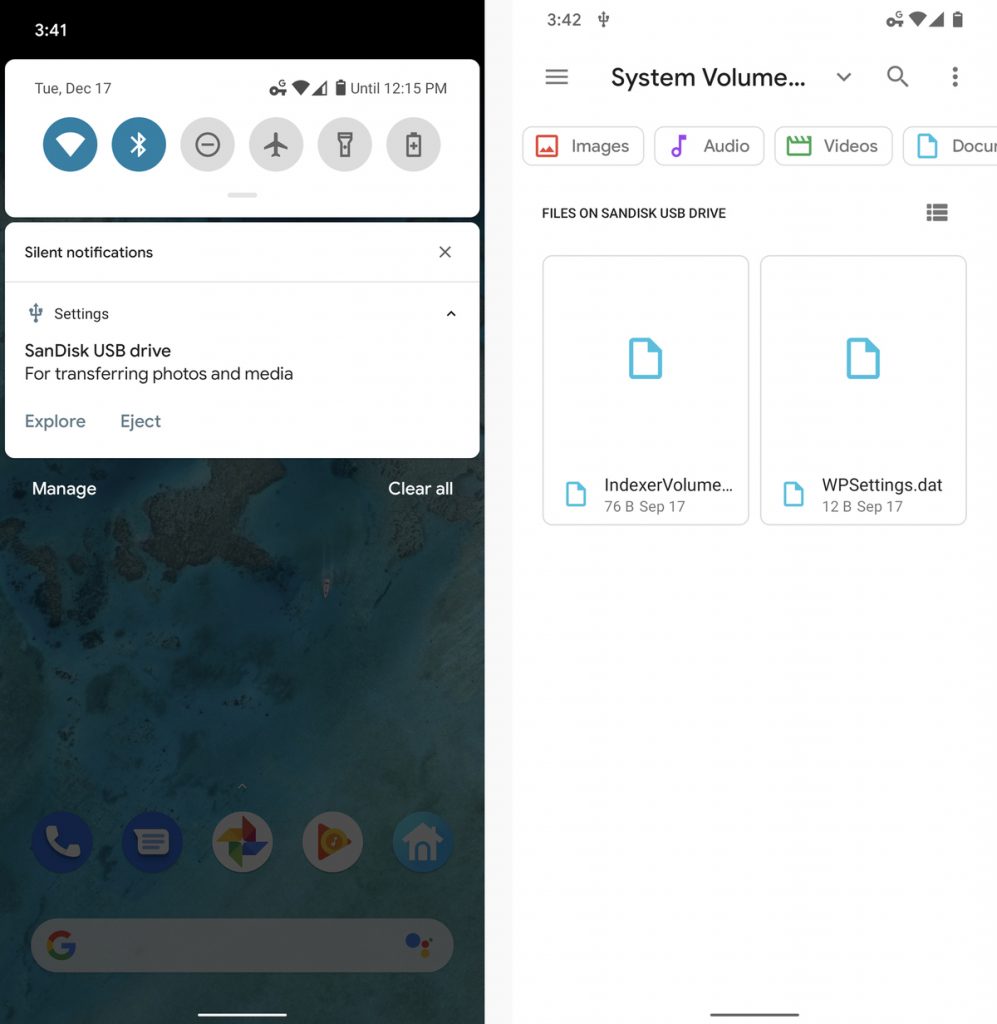
Step 4 : Click on USB Drive
Step 5 : You can now copy the files on your android device to the flash drive
Therefore, some steps are given below that you have to follow to do this:
- Go to internal storage to view the files on your android device
- Select the file you want to share
- Click on the three dots button
- Select Copy
- Select USB drive and click on Done
Method 4 : Use Cloud Storage
Cloud storage can help solve the problem of “insufficient storage”.

This is just like Dropbox. This allows you to share pictures, videos and other files from your android device to the cloud.So you can access them from your computer. As a result, once you share the files on your device with the cloud, you can delete those shared files from your device.
But there is one downside to cloud storage. In short, you can access the files you have shared to the cloud storage only if you have active internet connection.
Method 5 : Use Terminal Emulator App
What if you don’t want to install the Link2SD app? Don’t worry.. You can still increase your internal storage..
Terminal Emulator app will help you do that.
Note: You need,
- Higher class micro SD card(class 4 or higher)
- Install Terminal Emulator app to your phone
Step 1 : Partition your SD card with the MiniTool Partition Wizard software(This article has mentioned how to do it at the top)
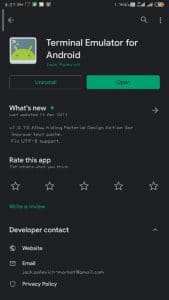
Step 2 : Download and install the Terminal Emulator App on your android device

Step 3 : Open the Terminal Emulator
Step 4 : Type ”su” and press Enter
Step 5 : Type“a2sd xdata” and press“Enter”
Step 6 : As soon as you enter this command, the app will ask you whether you want to continue this process or not. Further, then type ”Y” and press ”Enter”

Step 7 : Now the app will tell you to reboot your device. So, type “Y” again and press “Enter”
Step 8 : You have now successfully increased the internal storage of your device and go to “Menu> Settings> Storage” to check it.
If you want to undo this process, type “su -> a2sd noxdata -> y” in this order. Each command ends with pressing Enter. So, after typing each command, press “Enter”.
Read more:
How to reset the factory settings (Factory Reset) of Android smartphones
Magisk App 23.0 (Magisk Manager) Latest Version for Android


