increase Ram size
A problem we often encounter is that when using the phone, the phone is slow. What could be the reason? One of the main reasons for this is the lack of RAM in the phone.
What is this RAM?
The abbreviation for RAM is Random Access Memory. This is a temporary memory. If you do anything, all of that is stored in RAM. Having RAM allows you to do a lot of work at the same time. For example, you can run a lot of apps at the same time, or open a lot of tabs in the browser at the same time.
If you play a high-performance app or game, you need enough RAM. Otherwise, your phone may slow down.
If you are looking to buy a phone you should definitely check the RAM capacity.
Thankfully, the phones now have a good memory capacity. But on older phones, tablets don’t have enough RAM. What can be done?
There are several ways to increase the RAM size. This article will help you to know those methods.
METHOD 1: Increasing RAM Using Micro SD Card(For Rooted Devices)
This is a risky method that increases the amount of RAM on your device. This method is best suited for rooted devices.
There are a few things you should pay attention to before starting this method. You need;
- higher class micro SD card.
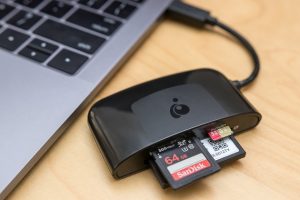
- SD card reader.
- A rooted Android device.
- Windows operated system.
If you have all of these, follow the next steps..
STEP 1: check whether if your android device supports swapping.
This is an important step. Make sure your device supports swapping.

STEP 2: Partitionalize the micro SD card
The MICRO SD card is a secondary memory. To partition a MICRO SD card, you have to use an app or tool.( We recommend Mini Tool Partition Wizard for this.)

To start the process, just insert your MICRO SD card into the SD card reader. Then connect it to your PC.

Now open the tool that you downloaded and installed on your PC. Format your SD card now using this tool.

If you have partitioned the SD card, click on “Apply All Changes” as the last step.
Step 3: Link micro SD Card with Android device
After partitioning your MICRO SD card, all you have to do is link the MICRO SD card to your rooted phone. You must have an app or tool to do this.
Download and install the LINK2SD app and open it. Then give root permission and select “.ext” partition and then link your Android device to the MICRO SD card.

Step 4: Increase the RAM
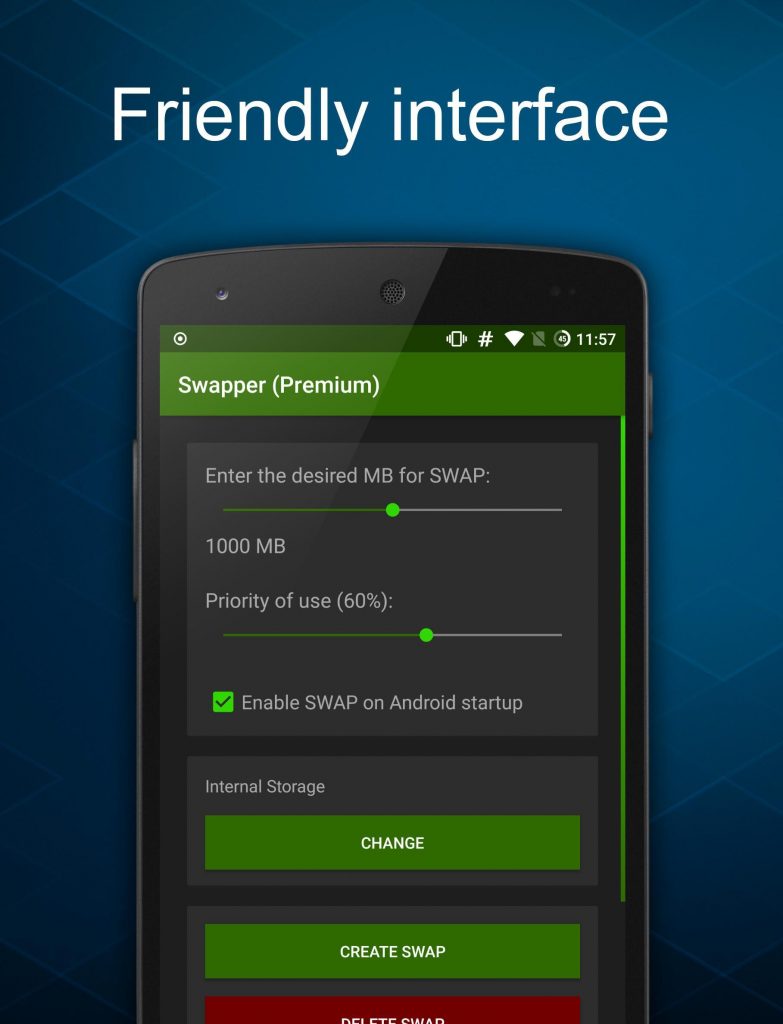
As the last step, you will need to download another app for root swapper.
Download a root swapper app and select the amount of RAM you want to upgrade.

Once you have done this, a “.swp” file will be created.
With this app, you can use it to track SWAP memory usage and change storage preference.

METHOD 2: Smart Booster (For Non-Rooted Devices)
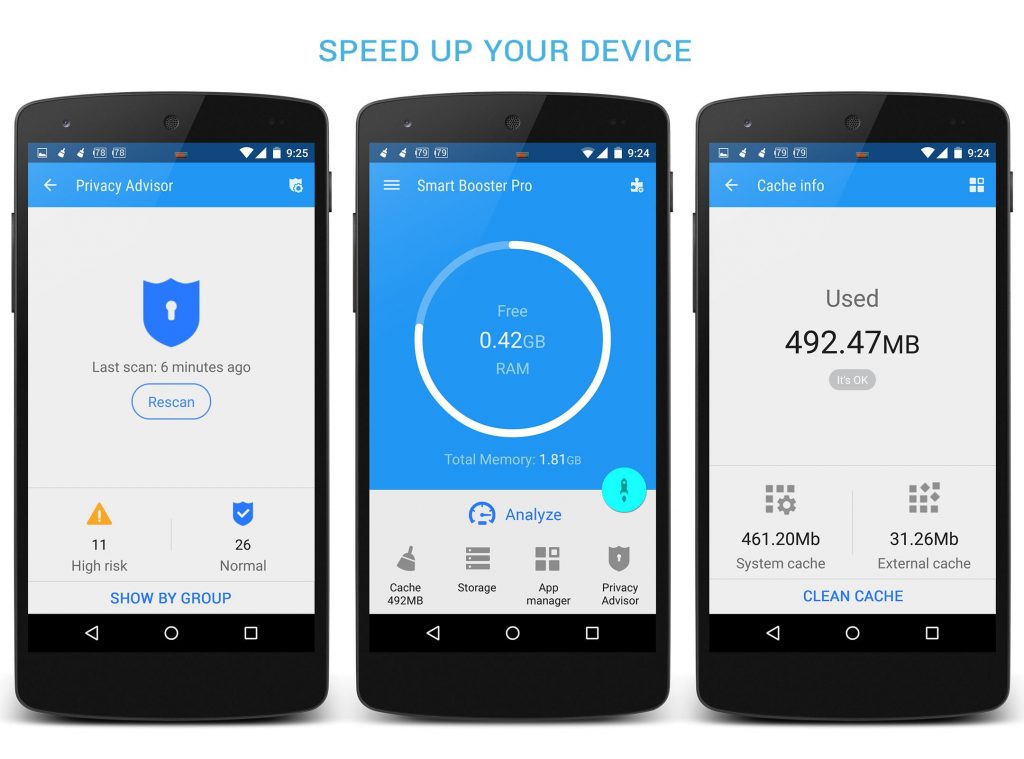
If you want to boost your device’s performance and RAM, a third-party app called SMART BOOSTER will help you do that.

Follow the steps below.
Step 1: Download and install Smart Booster
Download and install the Smart Booster app onto your android device.

This app helps boost your device in five ways.
- Automatic and in timing boost
- Default boost (Overlay Widget)
- One tap boost from the home screen
- One tap boost from the toggle notification bar
- One tap boost from the app’s main screen
Step 2: Select Boost Level
This app has 4 boost levels. These 4 levels are reserved based on how much speed you want to speed-up your device.
They are listed below:
- Aggressive– This level effectively destroys many low priority applications.
- Strong – Low-priority apps and less than average ones are destroyed at this level.
- Medium – Apps that consume more memory than the average are destroyed at this level.
- Gentle – This destroys only applications that use significant memory.

If you really want to boost your device, recommend choosing an aggressive level boost.
Step 3: Use Advanced Application Manager
This feature allows you to manage the apps on your device.

Here are some of them;
- Disable system applications
- Hibernate applications that are rarely used
- Recommending apps that need to be moved to your SD card
- Easily backup or uninstall applications
- Manage .apk files
- Scan automatic start-up applications
Step 4: Manually Increase RAM
If you want to increase the RAM of your device manually click on the BOOST NOW button or use the BOOST button on your device’s notification bar. This will destroy some processes on your device and speed up your device.

METHOD 3: Maximize RAM (For Non-Rooted Devices)
Non-rooted devices cannot increase RAM easily. This method does not actually increase the amount of RAM on your device. It’s about saving the memory of your RAM and making the best use of what you’ve got.
Here are some steps to increase the RAM capacity of your device.
Step 1: Limit Device’s Widgets
You probably don’t know that widgets on your device consume a lot of RAM on your device.
Some widgets are active continuously. This means that a portion of your device’s RAM is always allocated to the widget. The same is true for live wallpapers.
That is why you need to re-evaluate the widgets and live wallpapers you currently use on your device.
Step 2: Force Stop Applications
If the performance is not improved by limiting the widget and live wallpapers of the device, you have to use a different method. All you have to do is manually close the applications.
The first thing you need to do is to go to Settings->Apps. Tap on an app you like and check how much RAM the app uses. If it takes a large amount of space from the ram, you can Force Stop it.

Step 3: Uninstall Applications
If you think you don’t use the app that much, you can uninstall it and create a space for the important ones. Sometimes the Uninstall button is displayed when you tap on the app.
But there are some apps that can’t be uninstalled as easily. In such apps, all you have to do is remove the “Advanced Rights”. To do this go to Settings->Security->Device admin apps. Uncheck the box next to the app and then uninstall the app.
Read more:
How to increase internal storage on your android device