How to install Xposed Framework on Android
How to install Xposed framework on Android (Android 10, 9.0, 8.1 and More)
It should be you heard the term “Xposed Modules” or “Xposed Framework” if you are into the customization of Android or liked rooting and unlocking the boot loader of your phone. Through this article, you can know more information regarding the “Xposed Module” or “Xposed Framework”. This Xposed is a tool that is facilitated to install small modules or programs that enable you to customize your phone and install the modded application. If you can simply explain the advantages of this Xposed, through this you can easily install without wide changes for specific modification.
If you are interest to install the Xposed Framework and it performs a variety of tasks with it to tweak or modify your Android device. Now we look at the detailed information about the Xposed Framework.
What is the Xposed Framework?
The Xposed Framework provides facilities to install all the modifications and small add-ons into your system ROM. For getting one or specific features, there is no necessary to flash an entire custom ROM, because of that reason, through the Xposed Module you can save a lot of time and energy, and also you can install individual Modules on your Android device, using the Xposed Framework. This Xposed Framework support to all Android version and it provide the solution for existing problem.
Through disabling the apps like Google pay, Netflix, and Pokeman GO, the Xposed Framework can tiger the Google Safety Net. We can simply introduce that the Xposed Framework modifies your Android system. In addition to you can use the Xposed with Magisk and with a Magisk you can install also the Xposed Framework. As a benefit of an Xposed, we can be identified as it can use the mods without the need of triggering Google Safety Net.
Advantages of the Xposed framework
- It can be easily customized to your Android device.
- It changes some features of your device such as icon color, font, and some other features.
- It modifies some features of your system.
- Simultaneously you can apply multiple modifications.
- Through disabling the module and rebooting your device you can easily undo the changes.
How to install Xposed Framework?
The Xposed module can be installed on your phone and Xposed Framework lets for installing the Modules can perform on all operating systems. But it should be Android 4.0.3 or above version. The Xposed Module will help you to improve your device as the way you want, it is not literally and you can add some specific functionality in your device. To fulfill your endless customization options, Xposed Modules required root access on your device.
Prerequisites
- Before doing anything, make sure to keep the complete backup of your phone. >>
- It should be rooted your device.>>
- Make sure that the running device is your device is running with a compatible Android Version.
- Identify the CPU architecture of your device.
- You have to download ADB and Fast boot tools.
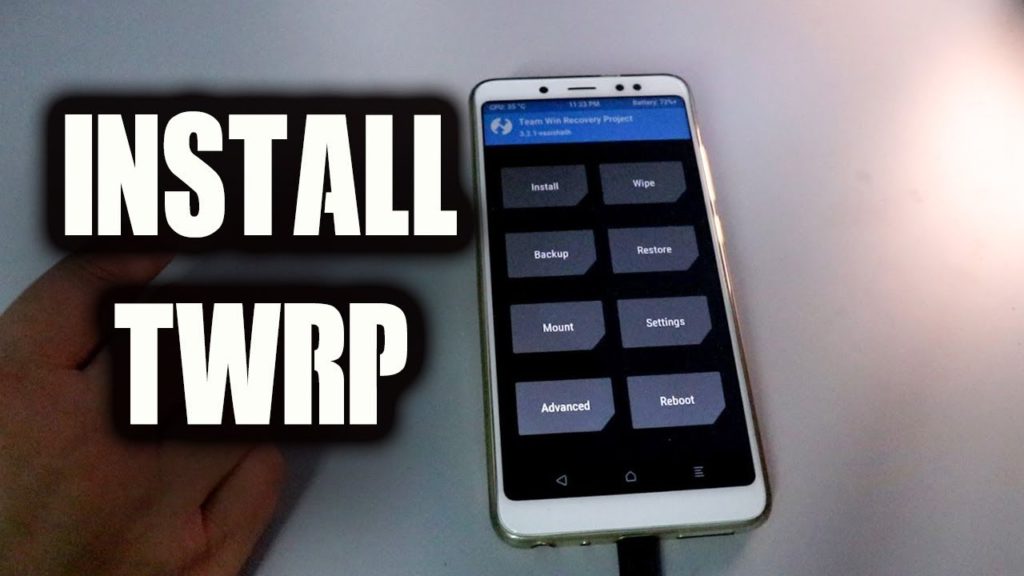
- And you have to install TWRP also on your phone.
Steps to Install Xposed
Step 01: You have to download ADB and Fast boot tools.
Step 02: And you have to install TWRP also on your phone.

Step 03: According to the android version of your device download the latest Xposed Zip file.

As an example: Android 8.1, Android 8.0, Android 7.1, Android 7.0, Android 6.0, Android 5.1, Android 5.0
Step 04: Now your Android phone connects to the PC.

Step 05: Copy the Xposed file to your device.
Step 06: Now follow the mention commands in your device:
ADB Reboot Recovery
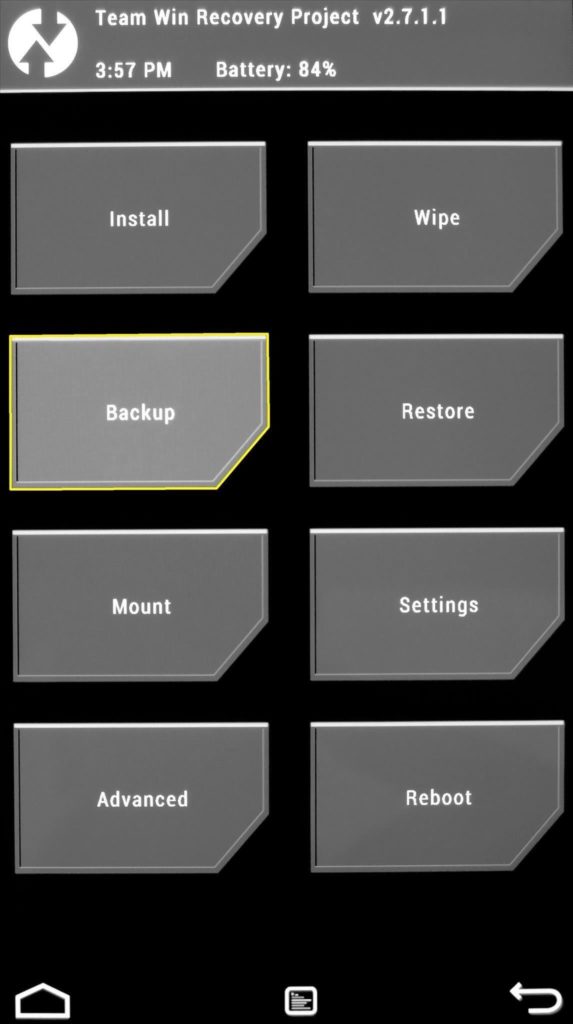
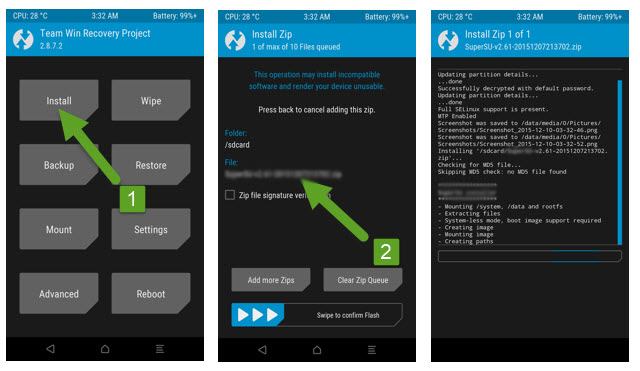
Step 07: Now, you tap on install on the TWRP menu.

Step 08: Find the location, which is locating the Zip file that you copied to your phone.
Step 09: To confirm the flash on your phone, swipe right it.

Step 10: Now, reboot your phone.
Step 11: Once you reboot your phone, you have to download the APK to install the Xposed module on your phone.
Step 12: After downloading APK, install it on your device.
Step 13: When it finished the install process, tap on Framework from the Menu screen.
Step 14: When you open the framework, you can tap on the install/ update.
Step 15: Tap on “OK” and after that reboot your phone when prompted.
How to install and use Xposed Modules
Step 01: Open the Xposed installer app on your device.
Step 02: Find the module, which is you wish to install on your phone.
Step 03: After selecting the wanted modular, swipe, or tap on it.
Step 04: Download the version, which you want to install.
Step 05: Trough tapping on the install button, you can confirm the installation.
Step 06: When it finished, press open to launch a new module or hit the done button to go back to the version tab.
Step 07: When you open the module app, you can tweak the modules and customized the way you like it.
Step 08: Make sure to enable the module.
How
to enable or disable Xposed Modules?
When you open the Xposed installer app, head over to the Modules section.
To do it enable or disable, tap on the box right to the module name.
To make changes, reboot your phone.
This article may help you to get knowledge regarding the Xposed Modules and Framework and deal with it. If you interest to deal with Xposed Module, it maybe helps you and you can follow the above procedure.
Connect with us
We would like to hear about your problems, questions, and suggestions. So feel free to contact us. This is free of charge service that we offer. But we receive thousands of emails per day. So it is impossible to reply to all of them. So we create a Community to help you individually. Go to Community and open help Topic under the relevant category. Please spread this post to your friends by sharing Facebook and other major social media. And make sure to like us on Facebook.